
Craftsman M110 Lawn Mower Manual: A Comprehensive Guide
Navigating Craftsman’s resurgence, SBD aims for a midrange value, mirroring Porter-Cable, while TTI produces many Craftsman power tools, impacting quality and positioning.
The Craftsman M110 represents a significant offering within the revitalized Craftsman brand, now under SBD’s ownership and leveraging manufacturing expertise from companies like TTI. This model aims to deliver reliable performance at a competitive price point, positioning itself as a value-driven option for homeowners. Understanding the M110 requires acknowledging Craftsman’s recent history – a relaunch focused on providing tools comparable to brands like Porter-Cable.
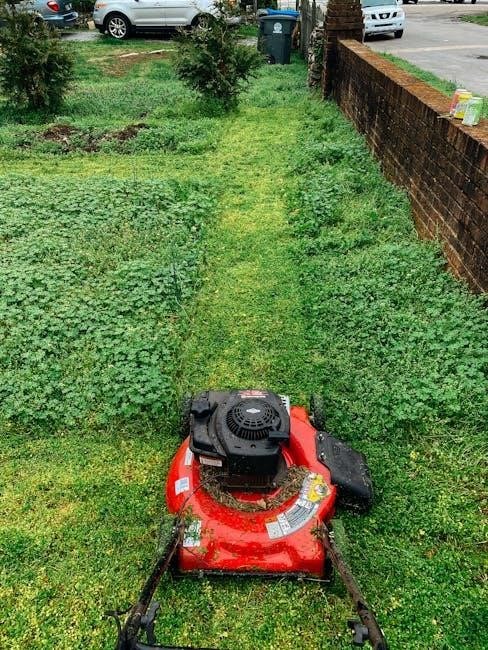
The M110 is designed for typical residential lawns, offering a balance of power and maneuverability. This manual serves as a comprehensive resource, covering everything from initial assembly and safe operation to routine maintenance and troubleshooting. It’s crucial to familiarize yourself with these guidelines to ensure optimal performance and longevity of your lawn mower.
Understanding the M110 Model Variations
While the core Craftsman M110 maintains a consistent design, subtle variations exist depending on the year of manufacture and retailer. SBD’s strategy involves adapting production based on market demands, potentially leading to component sourcing changes. Notably, Craftsman often leverages existing designs and manufacturing processes – similar to how the Craftsman Professional vise mirrors the Wilton Tradesman series – suggesting potential shared components across models.
These variations might include differences in engine specifications, deck materials, or wheel types. Identifying your specific M110 version is crucial for accurate parts replacement and maintenance. Referencing the model and serial number (typically found on the mower’s deck) when ordering parts or consulting support resources ensures compatibility. Understanding these nuances maximizes your mower’s performance.
Locating the Official Craftsman M110 Manual
Finding the official Craftsman M110 manual can be surprisingly challenging, given the brand’s history and ownership transitions. Historically, Sears provided readily accessible manuals, but with SBD’s acquisition and shift in distribution, direct access has become less straightforward. A primary resource is the Craftsman website itself; however, availability varies by model year.
Often, users find success searching online parts retailers like PartsDirect or ManageMyHome, which frequently host downloadable manuals for specific model numbers. Forums dedicated to lawn care and Craftsman tools can also be valuable, as users often share scanned copies or links to archived manuals. Remember to verify the manual’s applicability to your specific M110 variation using the model number.
Safety Precautions Before Operation
Prior to operating your Craftsman M110, rigorous safety checks are paramount. Always inspect the mowing area, removing stones, toys, and debris that could become projectiles. Ensure children and pets are a safe distance away. Never operate the mower with damaged guards or missing safety components – these are crucial for protection.
Wear appropriate safety gear, including sturdy footwear, eye protection, and hearing protection. Before each use, check the oil and fuel levels, and never refuel a hot engine. Disconnect the spark plug wire before performing any maintenance. Be mindful of sloping terrain and avoid operating the mower on steep inclines. Familiarize yourself with the emergency shut-off switch location.

Assembly and Initial Setup
Initial setup involves carefully unboxing components, attaching the handle securely, and verifying proper fluid levels – oil and fuel – before the first use.
Unboxing and Parts Identification
Upon receiving your Craftsman M110, carefully inspect the box for any shipping damage before opening. Once opened, lay out all components and cross-reference them with the parts list included in your manual. Key components typically include the mower deck, engine assembly, handle, wheels, a grass catcher bag (if included), and various bolts, nuts, and washers.
Pay close attention to smaller parts often packaged in separate bags. Ensure you have all necessary hardware; missing parts can delay assembly. Familiarize yourself with the names and functions of each component. The engine will likely be partially disassembled for shipping protection. Refer to diagrams in the manual for accurate identification, especially if parts appear similar. Proper identification is crucial for a smooth assembly process and future maintenance.
Attaching the Handle and Components
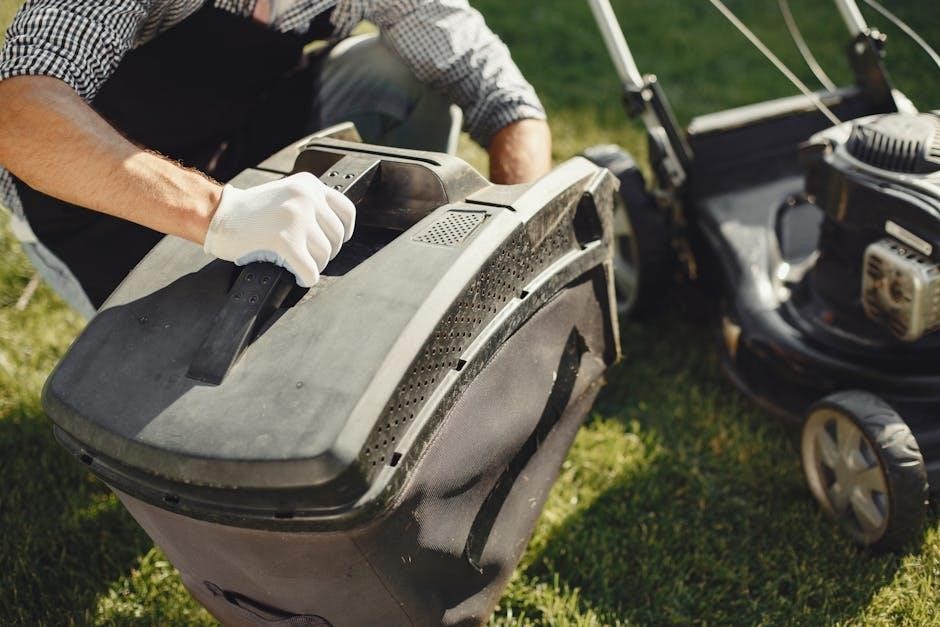
Begin by attaching the handle to the mower deck using the provided bolts and washers. Ensure the handle is securely fastened, as it provides crucial control during operation. Next, install the wheels, verifying they spin freely after attachment. The grass catcher, if included, typically clips or bolts onto the rear of the mower deck – follow the manual’s specific instructions for proper installation.
Double-check all connections for tightness after assembly. Loose components can create vibrations and potentially lead to malfunctions. Refer to the diagrams in your manual for correct bolt placement and torque specifications. Take your time and avoid over-tightening, which could damage the threads. A properly assembled mower is essential for safe and efficient operation.
Checking Fluid Levels (Oil & Fuel)

Before the initial start, and regularly thereafter, verify the oil level. Locate the oil dipstick, remove it, wipe clean, reinsert fully, and then remove again to check the level against the “full” mark. Add oil as needed, using the type specified in your manual – typically a SAE 30 oil.
Next, inspect the fuel level. Ensure fresh gasoline is used, and avoid fuel that’s been sitting for extended periods. Carefully open the fuel cap and visually check the level. Do not overfill; leave some space for expansion. Always check fluids on a level surface to ensure accurate readings and prevent engine damage. Proper fluid levels are vital for optimal performance.

Operating Instructions
Proper operation ensures longevity. Starting, adjusting cutting heights, and employing effective mowing techniques are crucial for a well-maintained lawn and mower performance.
Starting the M110 Lawn Mower
Before each use, ensure the fuel tank contains fresh gasoline and the oil level is within the recommended range. Engage the blade control lever, holding it firmly against the handle. Confirm the parking brake is securely applied. Prime the engine by pressing the primer bulb several times – typically three to five pumps – until fuel is visible.
Next, move the choke lever to the ‘choke’ position, especially in colder temperatures. Grasp the starter rope handle firmly and pull it with a smooth, controlled motion. Avoid jerking the rope, as this can damage the starter mechanism. Once the engine sputters or attempts to start, gradually move the choke lever to the ‘run’ position. Continue pulling the starter rope until the engine runs smoothly.
Always release the blade control lever immediately if the mower fails to start after several attempts, and investigate the issue before proceeding.
Adjusting Cutting Height
The Craftsman M110 features a convenient single-lever adjustment system for modifying the cutting height. Locate the height adjustment lever, typically positioned near one of the rear wheels. This lever controls the simultaneous adjustment of all four wheels, ensuring an even cut.
To raise the cutting height, move the lever towards the higher numbered settings. Conversely, to lower the cutting height, move the lever towards the lower numbered settings. The available height range is usually indicated on the mower deck itself, often in inches.
Always disengage the blade and ensure the engine is off before adjusting the cutting height. Select a height appropriate for your lawn conditions and grass type, remembering that scalping can damage the grass.
Proper Mowing Techniques
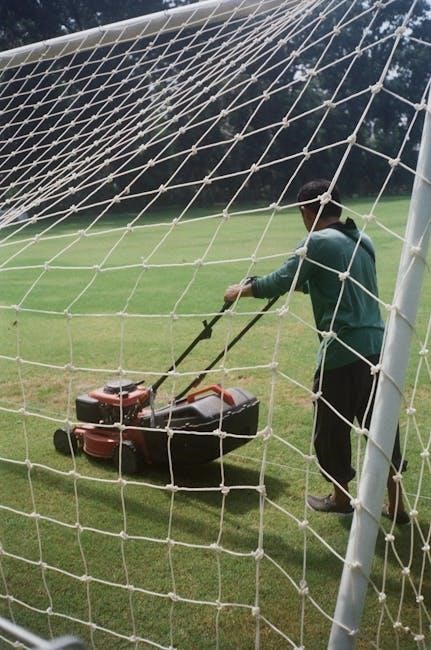
For optimal results with your Craftsman M110, overlap each mowing pass by a few inches to prevent scalping and ensure a consistent cut. Maintain a steady walking pace; moving too quickly can compromise the quality of the cut. Vary your mowing pattern with each use to avoid compacting the soil and creating ruts.
Avoid mowing wet grass, as it can clog the discharge chute and lead to an uneven cut. If the grass is excessively long, raise the cutting height for the first pass and then lower it for subsequent passes. Regularly empty the grass catcher to maintain efficient operation.
Remember safety first: always inspect the lawn for obstacles before mowing and keep children and pets at a safe distance.
Maintenance and Troubleshooting
Regular upkeep is crucial; blade sharpening, filter changes, and spark plug checks ensure peak performance and address common issues like starting problems or vibrations.

Routine Maintenance Schedule
To maximize the lifespan and performance of your Craftsman M110, a consistent maintenance schedule is essential. After each use, inspect the mower deck for debris and clean thoroughly. Check the oil level before every mowing session, adding oil as needed to maintain the proper fill level.
Every 25 hours of operation, or at least once per season, clean or replace the air filter. A clogged filter restricts airflow, reducing engine efficiency. Sharpen or replace the blade every 25 hours as well, ensuring a clean cut and preventing strain on the engine.
Annually, change the engine oil and inspect the spark plug. Replace the spark plug if it’s fouled or damaged. Additionally, inspect all bolts and fasteners, tightening them as necessary. Following this schedule will help prevent common issues and keep your M110 running smoothly for years.
Blade Sharpening and Replacement
A sharp blade is crucial for a clean cut and healthy lawn. Regularly inspect your Craftsman M110’s blade for dullness, nicks, or damage. Sharpening can often restore a dull blade, but if damage is extensive, replacement is necessary.
To sharpen, remove the blade (disconnecting the spark plug first for safety!) and use a metal file or a blade sharpening tool. Maintain the original angle of the cutting edge. Ensure the blade is balanced after sharpening; an unbalanced blade causes excessive vibration.
When replacing, always use a blade specifically designed for the Craftsman M110 model. Securely attach the new blade, ensuring the curved edge faces the deck. Proper installation prevents loosening during operation. A well-maintained blade significantly improves mowing performance.
Air Filter Cleaning and Replacement
A clean air filter ensures optimal engine performance for your Craftsman M110. A clogged filter restricts airflow, reducing power and potentially damaging the engine. Regularly inspect the air filter – typically before each mowing session or after every 25 hours of use.
For paper filters, gently tap to remove loose debris. Avoid using water, as it can damage the paper. Foam filters can be washed with mild soap and water, then allowed to dry completely before re-oiling lightly with air filter oil.
Replace the filter when it’s excessively dirty or damaged. A new air filter maintains proper air-fuel mixture, contributing to efficient operation and extending the life of your M110’s engine.
Spark Plug Inspection and Replacement
Maintaining a properly functioning spark plug is crucial for reliable starting and smooth engine operation of your Craftsman M110. Inspect the spark plug annually, or more frequently if you experience starting difficulties.
Remove the spark plug and examine the electrode for wear, fouling (carbon buildup), or damage. A healthy spark plug should have a tan or gray color. Clean a lightly fouled plug with a wire brush.
Replace the spark plug if it’s heavily fouled, worn, or damaged. Ensure the new spark plug has the correct heat range specified in your owner’s manual. Proper gapping is also essential for optimal performance. A fresh spark plug contributes to efficient combustion and reduced emissions.
Fuel System Maintenance
A clean fuel system is vital for the consistent performance of your Craftsman M110. Old fuel can degrade and cause starting problems or engine damage. At the end of each mowing season, or after 30 days of storage, drain the fuel tank completely.
Consider adding a fuel stabilizer to fresh gasoline to prevent deterioration during storage. Inspect the fuel lines for cracks or leaks and replace them if necessary.
The fuel filter should also be checked and replaced annually to prevent debris from clogging the carburetor. A well-maintained fuel system ensures optimal engine efficiency and extends the life of your Craftsman M110.

Troubleshooting Common Issues
Addressing typical problems, engine failures, excessive vibration, and uneven cuts require inspection and potential part replacements for optimal Craftsman M110 performance.
Engine Won’t Start
If your Craftsman M110 engine fails to start, systematically check several key components. First, ensure fresh fuel is present and the fuel shut-off valve is open. A clogged air filter restricts airflow, hindering ignition; clean or replace it as needed. Inspect the spark plug for fouling or damage – a faulty plug won’t ignite the fuel-air mixture.
Confirm the spark plug wire is securely connected. Low oil levels trigger safety shutdowns, so verify the oil level is within the recommended range. Lastly, examine the starter rope and recoil mechanism for proper function. If issues persist, a carburetor problem might require professional attention. Remember safety first – disconnect the spark plug wire before any inspection!
Mower Vibrates Excessively
Excessive vibration in your Craftsman M110 typically indicates an imbalance. Begin by inspecting the blade for damage – nicks, bends, or uneven wear can cause significant shaking. Ensure the blade is securely fastened with the correct bolt and tightened to the manufacturer’s specifications. A loose blade is a major safety hazard!
Check the engine mounting bolts to confirm they are tight; loose mounts amplify vibrations. Inspect the deck for any debris accumulation that might contribute to imbalance. If the vibration persists after these checks, the spindle or bearings may be worn and require professional repair or replacement. Always disconnect the spark plug before inspecting the blade.
Uneven Cut
An uneven cut with your Craftsman M110 often stems from a dull or damaged blade. Sharpening or replacing the blade is the first step towards achieving a consistent cut height. Ensure the blade is installed correctly – upside down or backwards installation will drastically affect performance.
Verify the deck is level; an unlevel deck causes scalping in some areas and leaves grass standing in others. Adjust the wheel heights to achieve a level cutting surface. Also, check tire pressure; unevenly inflated tires contribute to an uneven cut. Finally, mowing speed impacts cut quality – avoid moving too quickly.
Craftsman Brand History & Manufacturing
SBD’s Craftsman relaunch positions it as a value brand, akin to Porter-Cable, while TTI manufactures many Craftsman power tools, influencing quality control.
SBD’s Acquisition and Relaunch of Craftsman
Following the acquisition of the Craftsman name, SBD (Sportsman’s Brands Development) embarked on a strategic initiative to revitalize the brand. This involved repositioning Craftsman within the power tool market, aiming for a midrange value proposition. The strategy mirrors SBD’s approach with the Porter-Cable brand, focusing on delivering tools with a balance of affordability and functionality.
This relaunch necessitated substantial engineering efforts and the rapid development of a broad product line. A notable aspect of this process was the adoption of design elements reminiscent of the T-Stak system, a move seemingly influenced by Dewalt’s Toughsystem. SBD’s goal was to quickly establish a comprehensive offering, capitalizing on the established Craftsman reputation while catering to a different segment of the market.
TTI’s Role in Craftsman Power Tool Production
Techtronic Industries (TTI) plays a significant, often understated, role in the modern Craftsman power tool landscape. While widely known as the manufacturer of Milwaukee, Ridgid, and Ryobi tools, TTI also produces a substantial portion of Craftsman’s current power tool lineup. This arrangement is not uncommon within the industry, as tool manufacturers frequently re-brand products or outsource production.
The extent of TTI’s involvement highlights a broader trend of consolidation within the power tool industry. It’s plausible that many Craftsman tools share underlying designs or manufacturing processes with those of TTI’s other brands. This practice allows for economies of scale and efficient production, impacting both tool quality and overall market positioning for Craftsman.
Craftsman Tool Quality and Positioning
Following SBD’s acquisition, Craftsman is strategically repositioning itself as a midrange, value-priced brand, similar to Porter-Cable. This shift impacts perceived tool quality, aiming for a balance between affordability and durability. While historically known for lifetime warranties and robust construction, modern Craftsman tools reflect this new market segment.
Comparisons to other store brands like Kobalt and Husky demonstrate Craftsman’s current positioning. The brand seeks to offer convenience, competitive pricing, and a broad selection, appealing to homeowners and DIY enthusiasts. Some professional-grade tools, like the Craftsman Professional vise, are noted as high-quality imports, potentially sourced from established manufacturers like Wilton.

Warranty Information
Craftsman historically offered lifetime warranties, providing significant consumer confidence; however, current warranty details require careful review for specific coverage terms and claim processes.
Understanding the Craftsman Warranty
The Craftsman warranty landscape has evolved, particularly following SBD’s acquisition. Historically renowned for lifetime warranties, the current offerings vary depending on the product’s manufacturing date and retailer. Newer Craftsman tools, often produced by TTI, typically feature limited warranties, differing from the older Sears-era guarantees.
Understanding the specific terms is crucial. Warranties generally cover defects in materials and workmanship, but exclude wear-and-tear, misuse, or unauthorized modifications. Coverage periods can range from one to three years for parts and labor. It’s essential to retain proof of purchase and register the product online to streamline any potential claims. Always consult the official warranty documentation accompanying your M110 for precise details.
Warranty Claim Process
Initiating a Craftsman warranty claim typically begins with contacting the retailer where the M110 was purchased. Having your proof of purchase readily available – receipt or online order confirmation – is essential. If the retailer cannot resolve the issue, contact Craftsman customer support directly, often accessible through their website or a dedicated phone line.
Be prepared to provide the model number, serial number, and a detailed description of the defect. You may be asked to submit photos or videos demonstrating the problem. Craftsman will then assess the claim and, if approved, authorize a repair, replacement, or refund. Remember to follow their specific instructions regarding shipping or returning the defective unit.